You will often need to flash a boot.img file using fastboot whenever you are trying to install a custom kernel, root your android device using Magisk, or recover from a bad flash. For android customization, it is one of the most common as well as the safest procedure depending upon how you follow the given steps and use correct boot.img file made specifically for your device and firmware version. In this tutorial we will explain you a step by step procedure on how you can flash boot.img using fastboot on your android device using fastboot.
Flash Boot.img Using Fastboot
Prerequisite
- Download the correct boot.img file for your exact device model and current firmware version. A mismatched file is pretty much the number one reason people end up stuck in a bootloop.
- Device’s bootloader needs to be unlocked before proceeding using flash boot.img using fastboot. Fastboot simply refuses to touch the boot partition on a locked device.
- Your bootloader needs to already be unlocked. There’s no way around this one, fastboot simply refuses to touch the boot partition on a locked device.
- Download the latest Android SDK Platform Tools and install on your computer. These include the fastboot and adb binaries required for this process.
- Backup your device data as some flashing mistakes can result in data wipe.
- Your device should have minimum battery of 50%.
Boot into Fastboot Mode
- Head into Settings > About Phone and tap Build Number seven times to unlock developer options.
- After this, go to Settings > System > Developer Options and enable USB Debugging.
- With a proper USB cable, connect your mobile to the computer.
- Open up the folder where Platform Tools is installed, and launch a Command Prompt or Terminal by typing cmd in the address bar of that respective folder.
- Now type the command adb devices and you’ll see your device’s serial number pop up, and your phone should also show a popup asking you to allow the connection, tap Allow. This might not occur if your device is not detected. If you want to get more information related to fixing “Fastboot waiting for device” error, you can click here.
- Type adb reboot bootloader. Your phone will restart and drop straight into Fastboot Mode and you are ready to flash boot.img using fastboot.
Flashing the Boot.img
- Move the boot.img file you downloaded for your phone into that same Platform Tools folder. This helps in avoiding typing out a long file path later. (You can rename the image file for convenience)
- With the phone in Fastboot Mode, run the command fastboot devices first, just to double check your PC can still detect it.
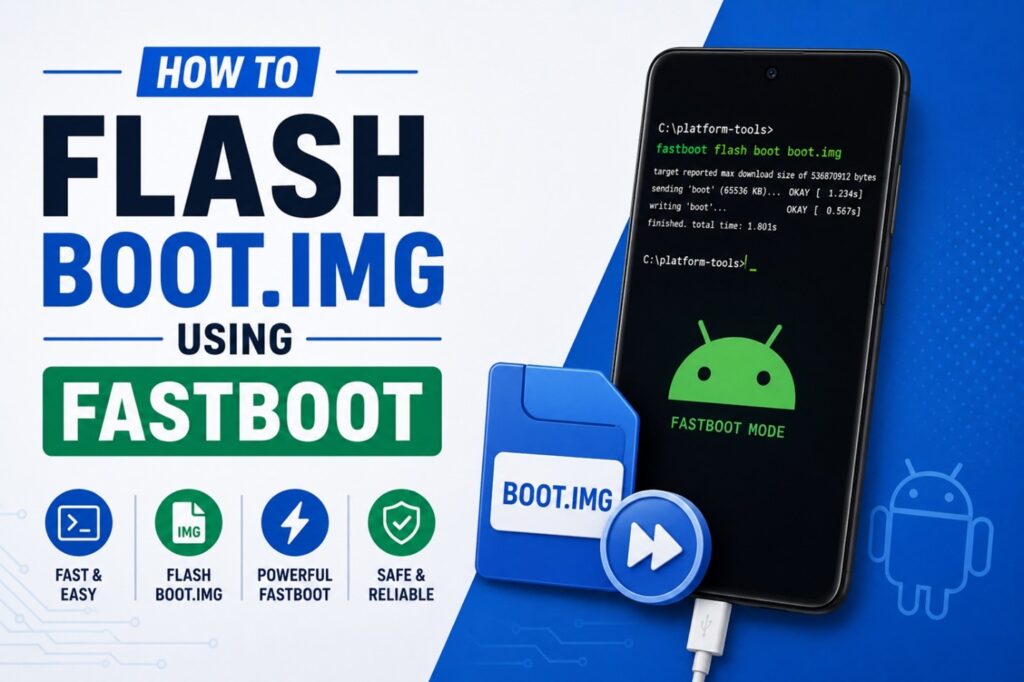
- After verification, go ahead and type the command fastboot flash boot boot.img and press Enter.
- After some time, you’ll see some output scroll by in the command prompt confirming the boot partition was written successfully.
- If your device uses A/B partitions (two slots, slot A and slot B), you may want to flash both just to be safe. Use these commands in cmd for this purpose
fastboot flash boot_a boot.img and fastboot flash boot_b boot.img - After the flashing process is completed, type fastboot reboot and let your phone restart on its own.
If the phone won’t boot after flashing, just reflash the stock boot.img that matches your firmware and you’ll be good to go. It is important to note here that a few of these steps might look slightly different depending on your device’s brand or chipset, but the overall process remains the same. We hope you find this guide helpful. If you wish to have a step-by-step tutorial on any android related topic, please contact us using the Contact Us page.
For more on android tutorials keep tuned in to How to Android Tutorials.