
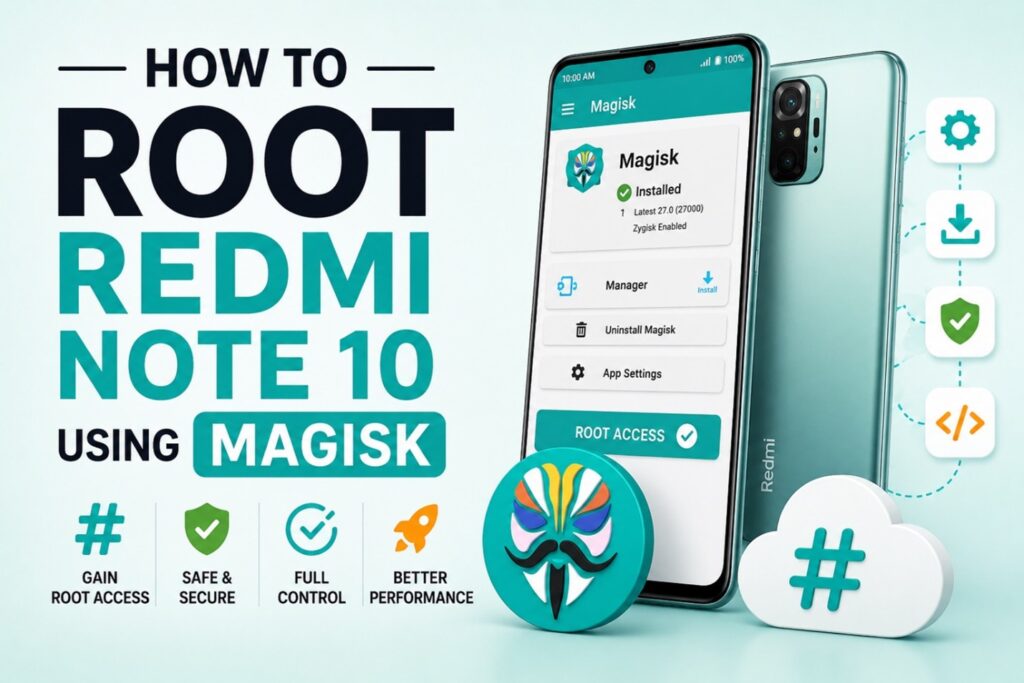
You can root your Redmi Note 10 to get various customization, proper ad-blocking, deep system tweaks and ditching the MIUI bloat you never asked for. The most popular and widely trusted rooting method is Magisk. Part of the reason is that it’s “systemless,” so it doesn’t go tearing into your system partition like the older root methods used to. You can also hide it from picky apps like banking app and reverting back if something goes wrong is quite easy.
It is pertinent to mention here that this process wipes your device clean and voids the warranty. So, make sure you have backed up your data on android device before proceeding.
Steps to Root Redmi Note 10 using Magisk
In this tutorial, we will provide you a step-by-step guide on how you can root Redmi Note 10 using Magisk.
Prerequisites
- Backup your data in your phone like contacts, pictures, media files etc before installing Magisk. You can get more information about how to backup data by clicking here.
- You need to unlock the bootloader of your Redmi Note 10 and a detailed tutorial is already present on our website. You can access it by clicking here.
- Install custom recovery like TWRP or Orangefox, which work better for you on your device. To install TWRP custom recovery on your Redmi Note 10, click here. These are all the prerequisite needed to root Redmi Note 10 using Magisk.
Download Magisk
- Go to the web browser of your device and type Magisk Github, open the first shown option named “topjohnwu/Magisk: The Magic Mask for Android”. Otherwise, you can visit this site by clicking here. This is the official Magisk Manager github repository.
- Head over to the Resources section by scrolling down and tap the latest Magisk version available.
- After opening it, download the Magisk manager apk file on your phone.
- After completion of download, go to File Manager > Download and rename the Magisk Manager file extension from “.apk” to “.zip” at the end.
Boot into Custom Recovery and Extract
- Restart the phone and hold Volume Up button to boot your phone into custom recovery.
- From the main menu of custom recovery (TWRP or Orangefox), go to download folder and select the Magisk Manager file that you renamed.
- Then swipe to flash this zip file into your phone. After its completion, reboot your phone exiting custom recovery.
Install Magisk on Redmi Note 10
- To root Redmi Note 10 using Magisk after rebooting, find the Magisk app, open it and allow the app to access your phone’s data.
- Tap Install option, select Direct Install and then tap on Let’s Go.
- Wait for a few seconds, allowing Magisk to install completely on your phone.
- Restart your phone after completion of installation.
- After the reboot, your phone will be rooted.
Verify Rooting
- Download a Root checker app from the Play Store for confirmation.
- After installation of root checker app, grant it permission to access your device and tap on Verify Root.
- A message will appear on the screen stating that your phone is rooted successfully.
- Assuming everything checks out, Congratulations, now Redmi Note 10 is officially rooted.
Keep in mind that depending on which MIUI build you’re running, rooting procedures can slightly vary depending upon your MIUI version. We hope you find this guide helpful. If you wish to have a step-by-step tutorial on any android related topic, please contact us using the Contact Us page.
For more on android tutorials keep tuned in to How to Android Tutorials.